

When it comes to uploading your eBook for KDP or even for selling it yourself from your author website, it seems like a really fiddly job. But there are ten easy steps to getting it right.
This is a very basic 101, and there are many other fancy things you can do. But these are the bare minimums you should aspire to.
You can click the images if you wish to see them bigger.
1. Use Word
1. There’s no point in using a PDF because it’s counter-intuitive to Kindle. Amazon’s system will automatically recognize chapter headings and paragraphs if you have set them up properly.
2. “Nuke” Your Book
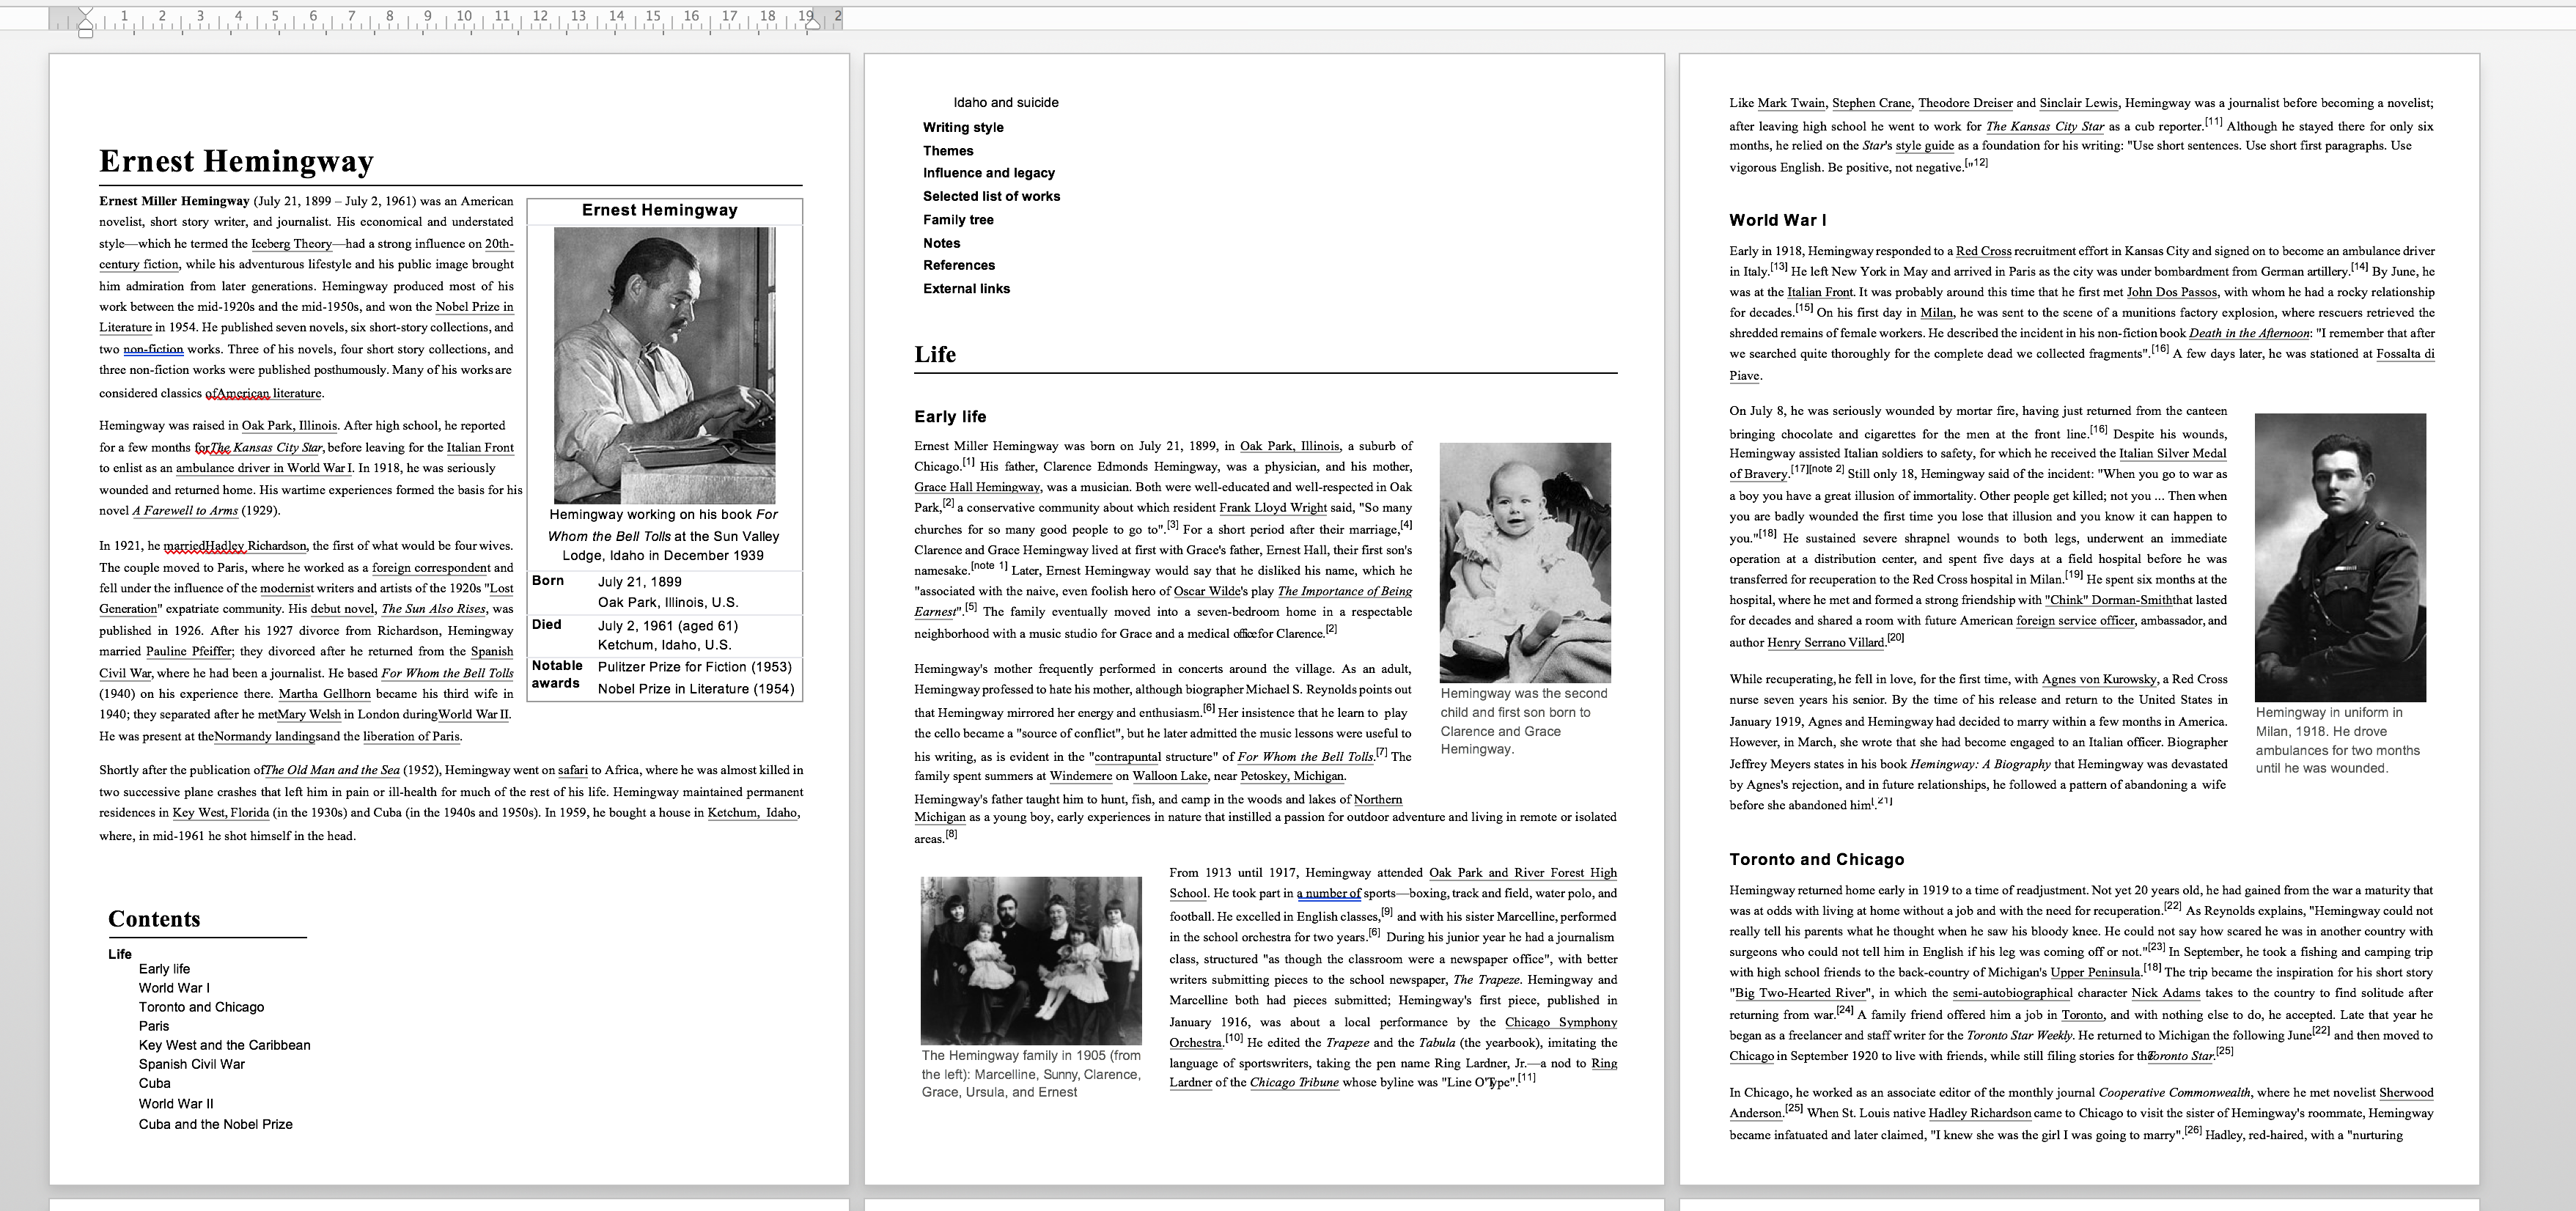
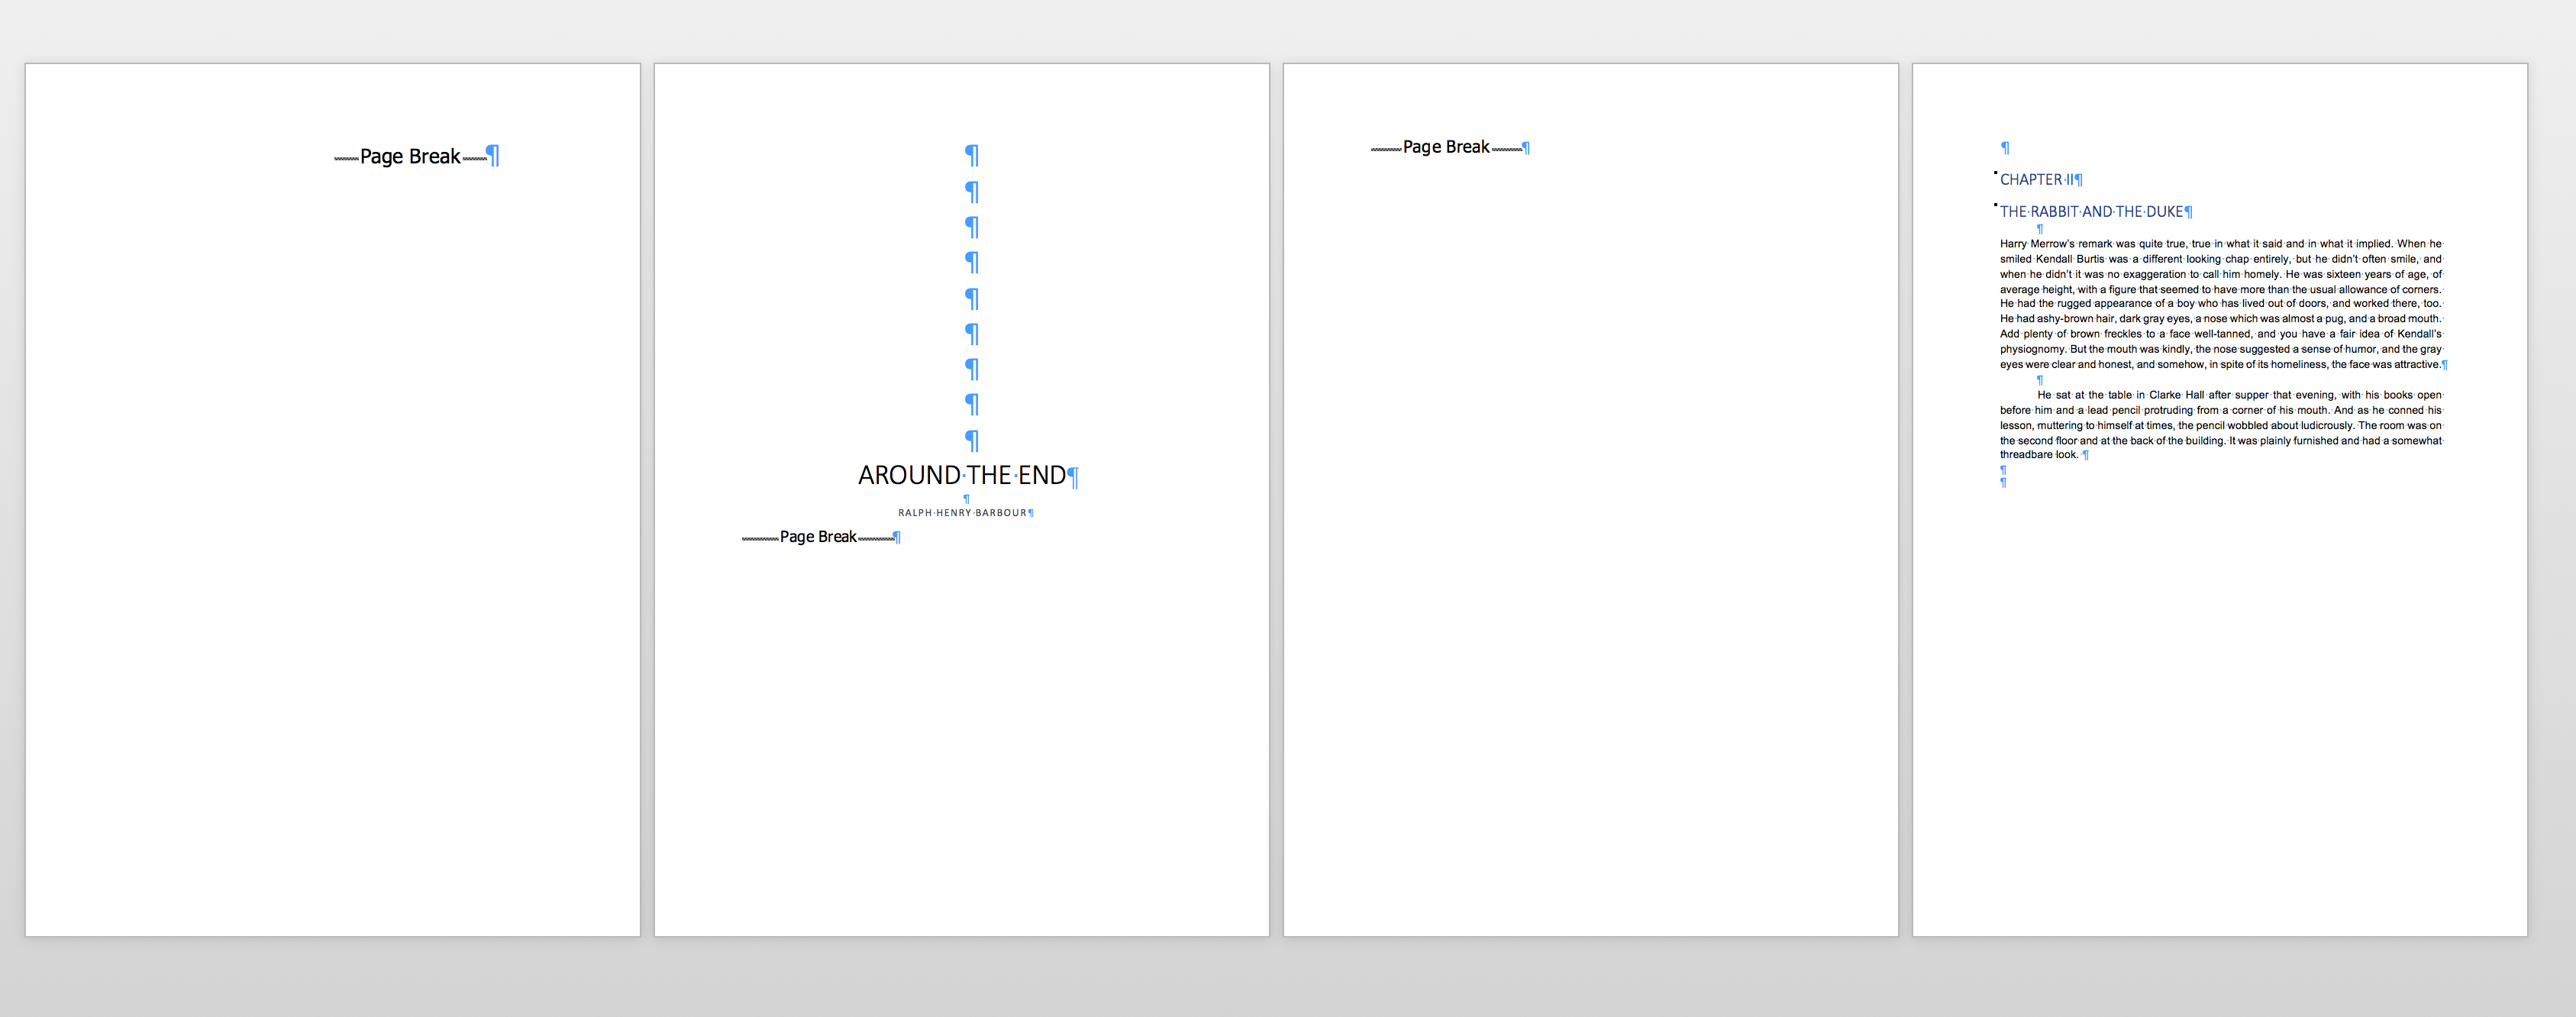
2. Start clean. Once you have finished your editing, “nuke” your work. This is a technique whereby you forget about any formatting you tried to do while writing, and start with a completely text-only file. Here’s what formatted pages look like:
1. The quickest way of doing this is CTRL + A, to select the whole book, then CTRL + C to copy it.
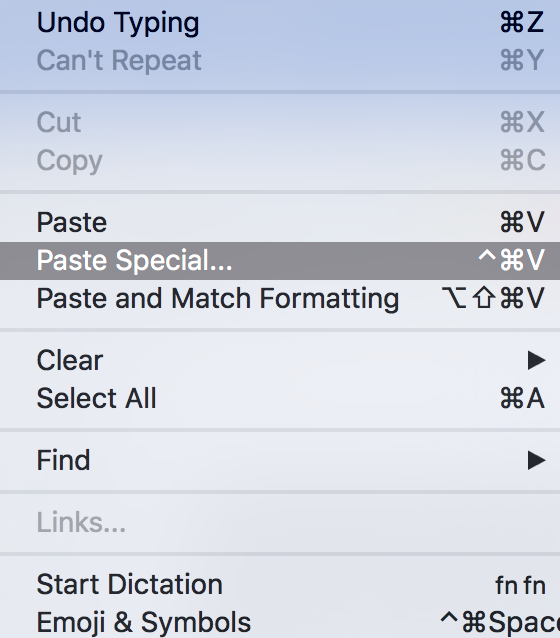
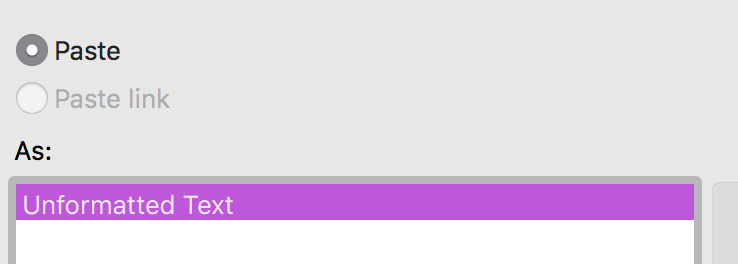
2. Open a new Word doc, and go to Edit – Paste Special, and choose Unformatted Text *this will remove images, but this is a good thing*.
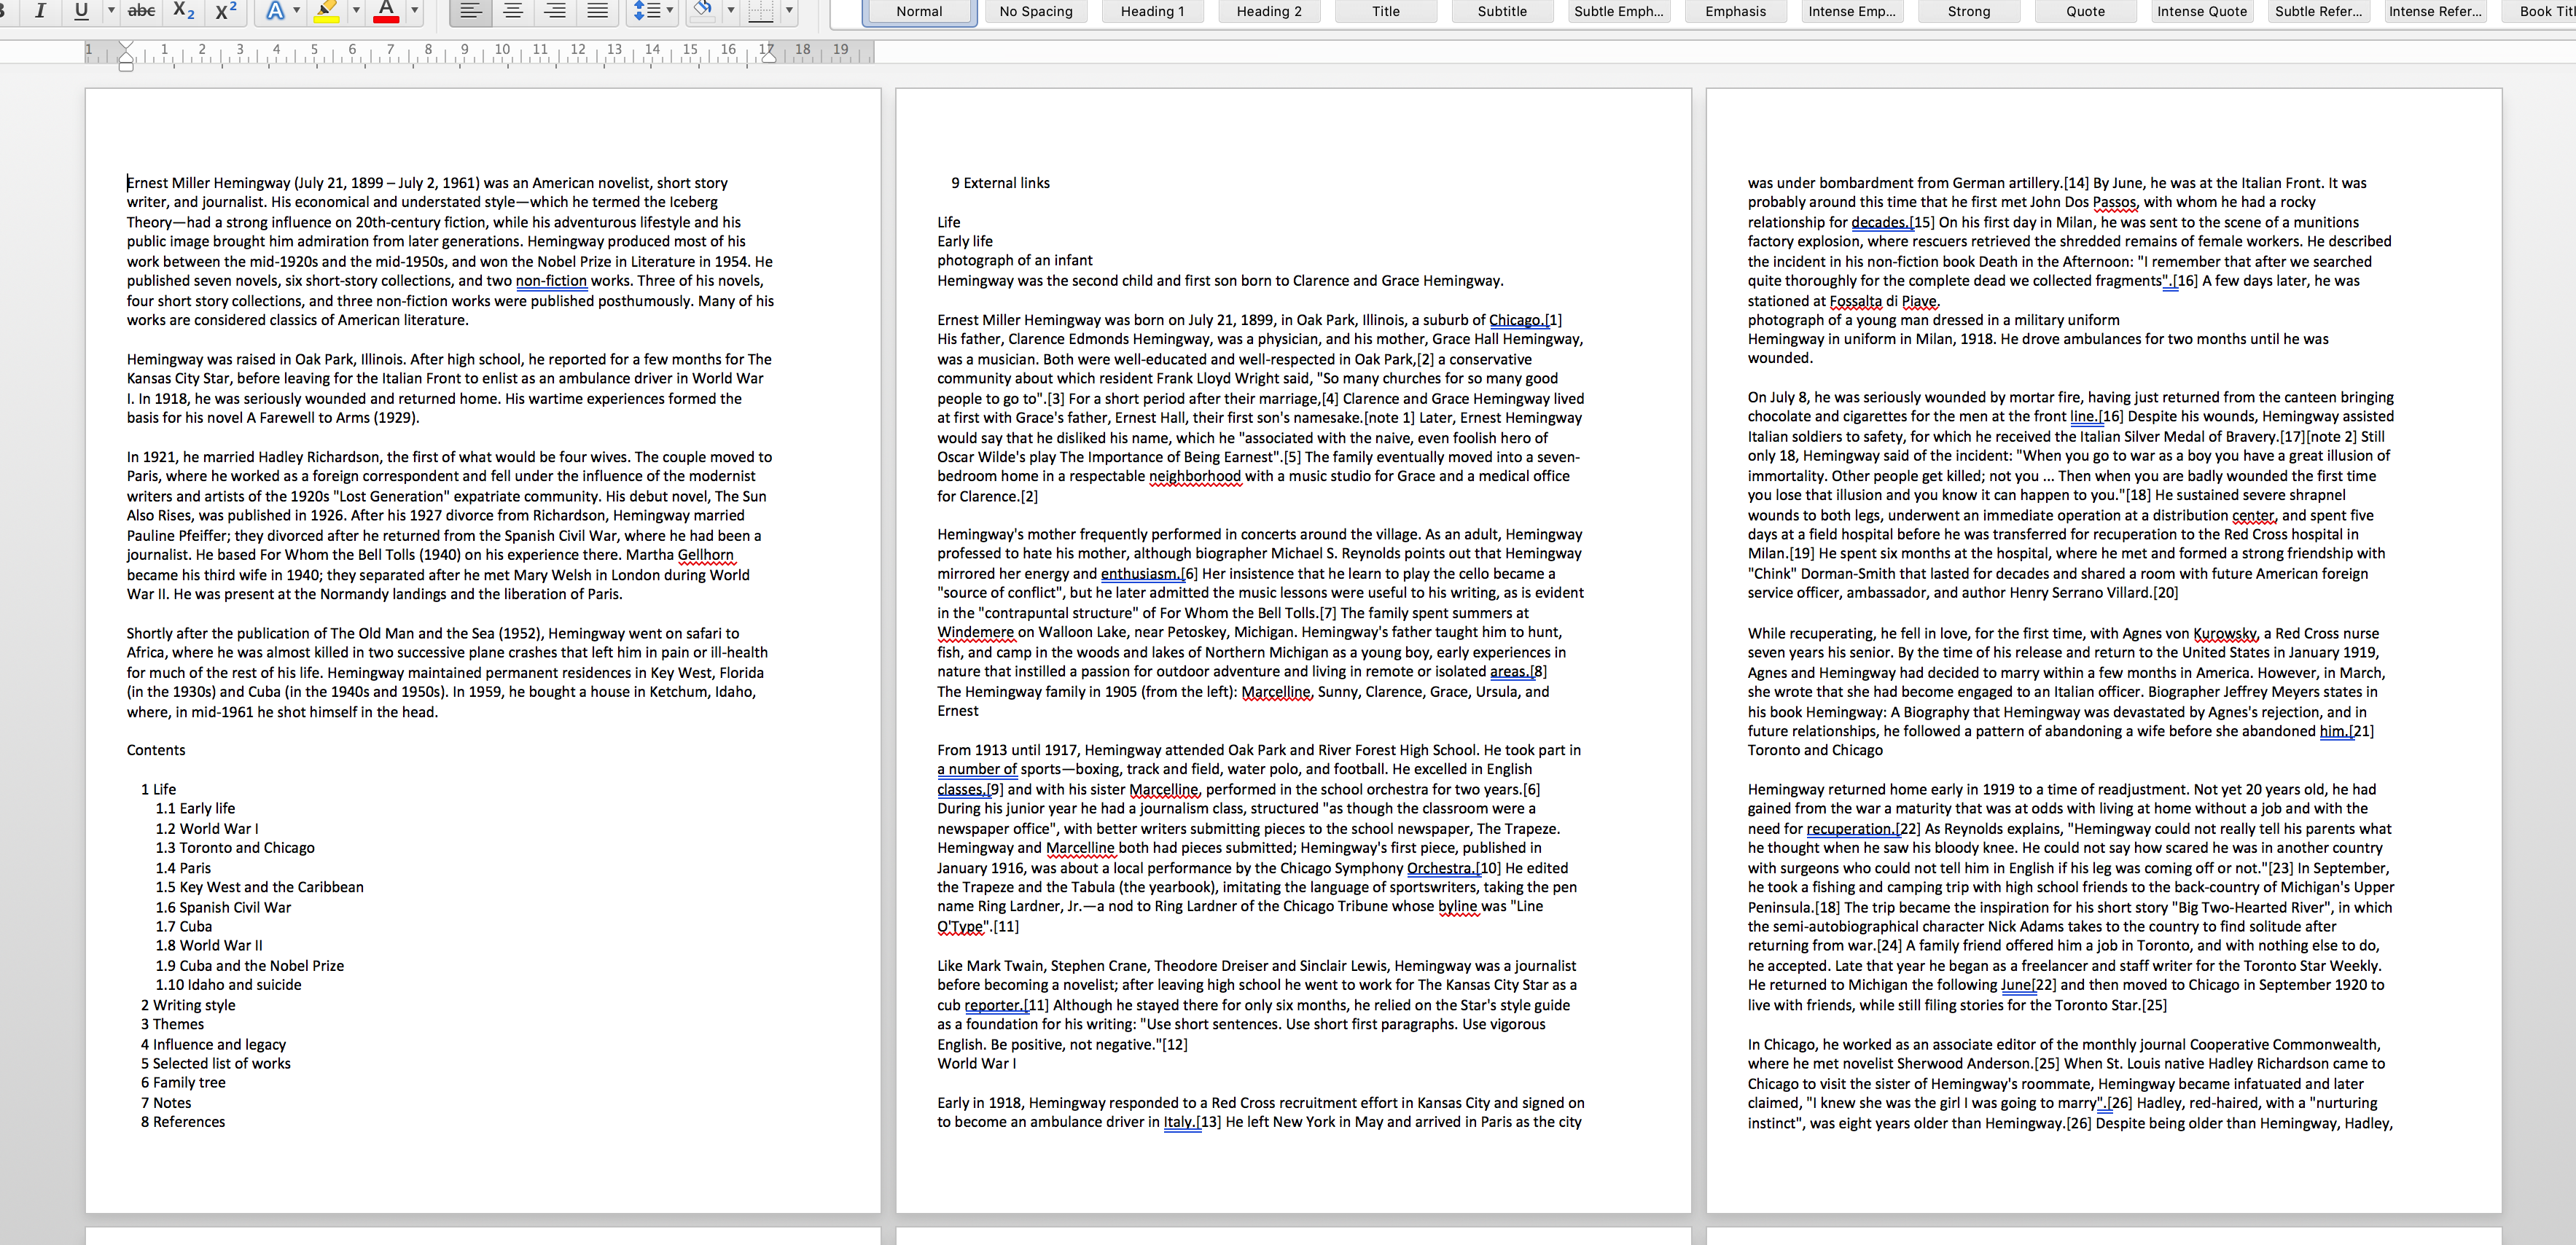
3. You will get this:
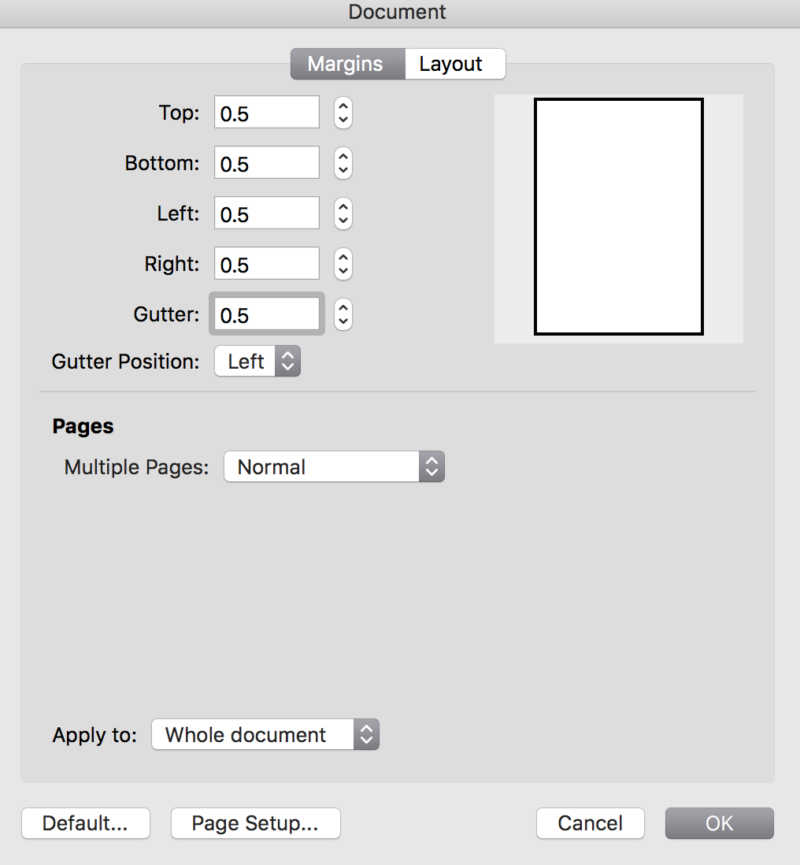
3. Setting margins correctly
An eBook needs a uniform margin all the way round. A narrow margin of 0.5″ will be the best. Here are the settings under Format > Document > Margins
4. Set spacing correctly
In Word, you can set the recommended spacing using the Format menu. Go to > Paragraph to choose the following:
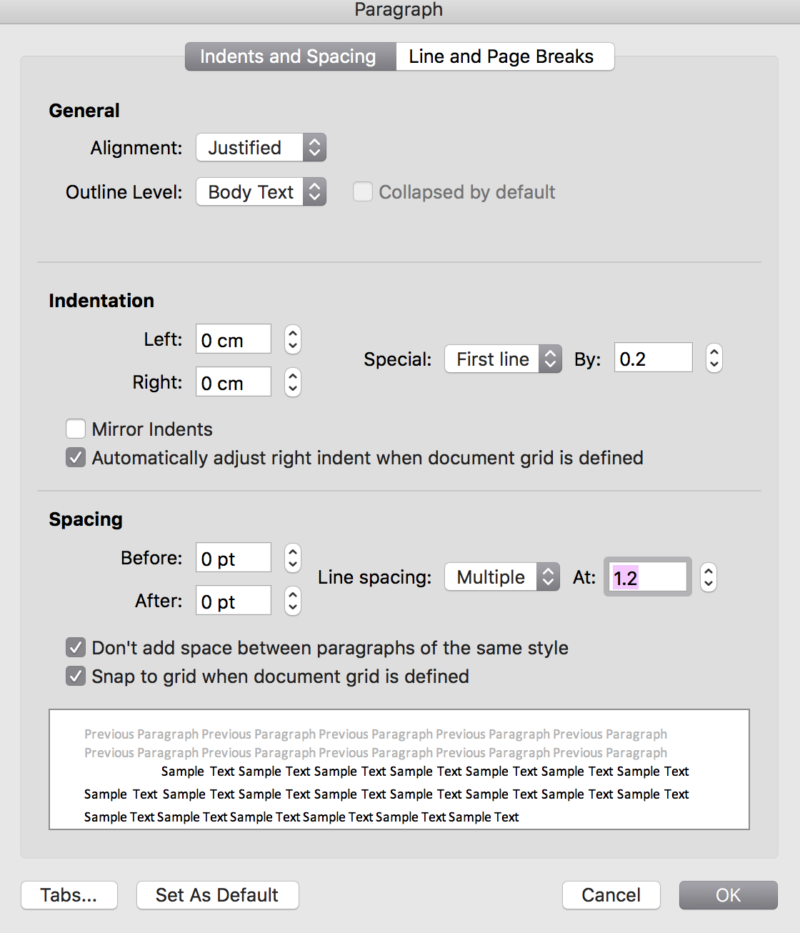
This will make sure your text comes out in blocks that sit snug on your page. Some people argue for a left-justified book, but I think it looks sloppy. You can also set to single line spacing, but again, especially if you have a shorter book, I think it looks a bit squashed up.
However, it also means your first chapter lines will be indented, which is not what you want. You will need to go in a de-indent all chapter headings and first lines. You can do this with Styles.
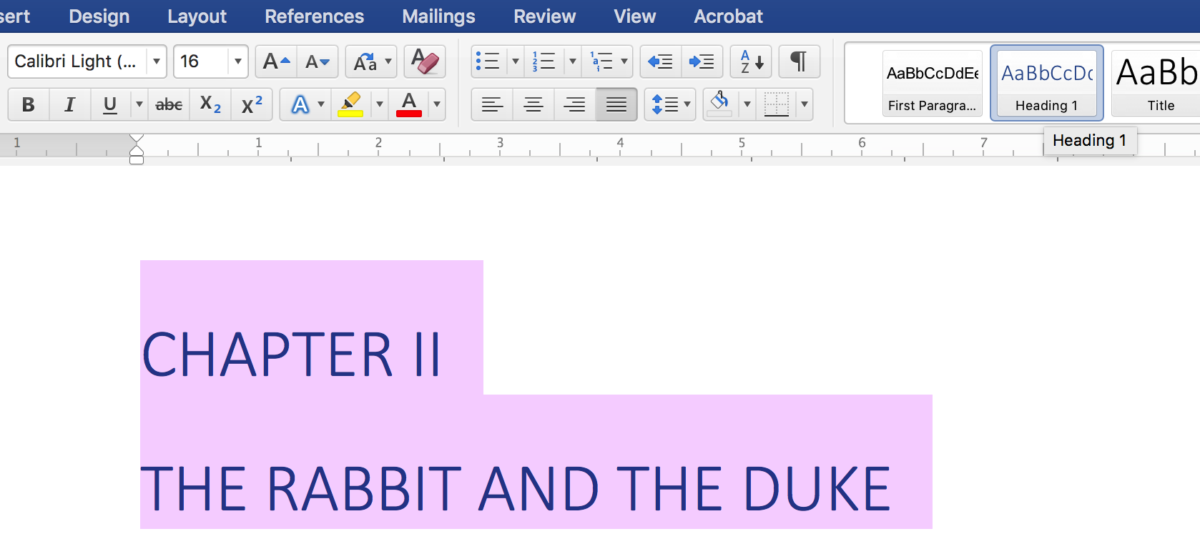
5. Setting Styles
1. You will see at the top of Word you have a Styles box:

2. Select your Chapter Headings and click Heading 1 *you can use Heading 2 for a subheading if you wish, but I poo poo that.*
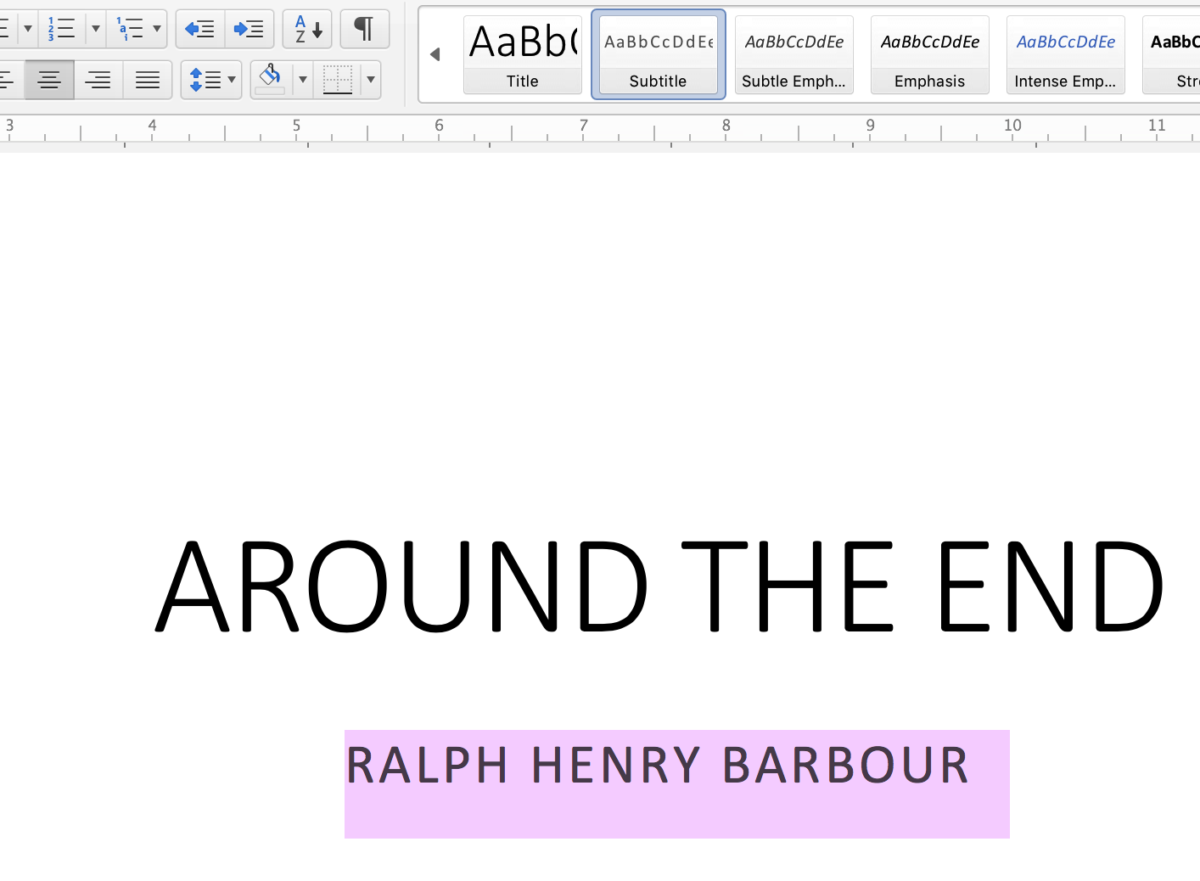
3. For your Title Page, use the Title style and the subheading style for your author name *dispense with the “by”* . Make sure you center this text also:
To de-indent your first chapter lines — yes, they should be de-indented — you can use Styles too. However, because this requires the same amount of energy as de-indenting by hand, you might just do it manually.
To do this, set your mouse cursor at the beginning of each first line, and simply hit delete to get rid of the indent. Each first chapter line should then look like this:

6. Front and Back Matter
Authors get really confused about this. Here’s the skinny:
Front Matter
You can include this, in this order — and nothing else:
- Copyright Page (Templates are best from Joel Friedlander — I recommend his short one)
- A Table of Contents
- A dedication page *one line* such as “To my mom – thanks for all the fish”
Back Matter
- Thanks page – This can be as gushing as you please but MUST go in the back of your book!
- About The Author – Including website links to your author site or social media
The Table of Contents will be generated in your Kindle book from your Heading 1 and Title styles, but it is good practice to include one anyway.
7. Table of Contents
1. Mark all of your Chapter Headings as Heading 1, and your book title as Title style
2. Click in the spot you want to add a Table of Contents. (You won’t need to do this step if you plan to finish in Kindle Create).
3. Go to Insert > Index and Tables and set your Table of Contents using these settings *I chose Simple, but you can choose the look*

If you have subheadings for chapters, select Show Levels: 2 instead.
You do not need page numbers in an eBook. eBooks work on percentage read, not pages.
8. Add Page Breaks
Having said that, you should make sure your book is laid out as you would like it by adding Page Breaks. Basically, you need one at the end of each section of your book. Here’s how.
- Put your cursor where you want a page break, i.e. a new page to start.
- Go to Insert > Page Break
- Click, and a page break will appear on your document.
You can check these are in by clicking the Paragraph button on your toolbar:
9. Add images
Images need to be formatted in black and white/grayscale, and at 300dpi resolution. This is the standard required by Amazon for your eBook. Even if your image is going to be small.
Amazon has a section on how to format images here, so I won’t reinvent the wheel.
You can insert an image by going to Insert > Picture > Picture from File.
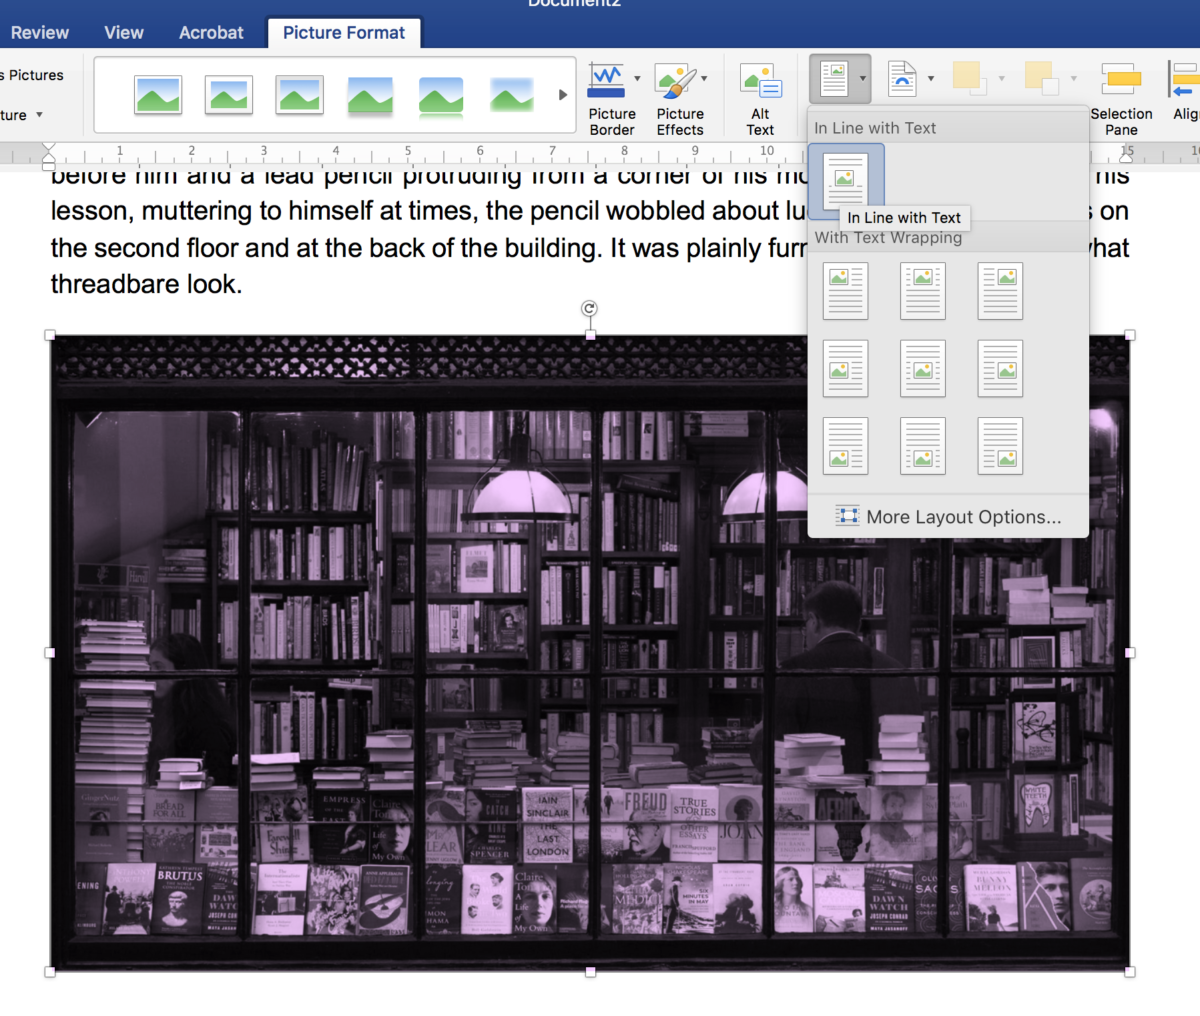
- When you insert an image, firstly, center it so that no text is trapped around it.
- To ensure this, go to Picture Format and select In Line with Text. This is to ensure that whatever font the reader chooses, the image won’t float about the page.
10. *Optional* Finish in Kindle Create
You should now be ready to finish your file in Kindle Create. This is a optional step, but one that will make your book look pretty amazing. Download the free software here.
Contact us to have us format for you from $139.
Get an Editorial Review | Get Amazon Sales & Reviews | Get Edited | Get Beta Readers | Enter the SPR Book Awards | Other Marketing Services


Leave A Comment